Processing Imagery
Choosing Processing Software
Flying and collecting imagery is often the easiest step in drone mapping, while preparing and processing imagery requires significant computing and human effort. Photogrammetric software that employs processes such as Structure from Motion (SfM) is actively and continuously improved to reduce the level of effort required and to automate the processing workflow.
Open Source vs. Commercial Software
Most software used to process drone data is developed by commercial firms and offered through pricey subscription options or permanent desktop licenses. Some of the same companies also offer cloud-based processing services that allow for uploading imagery to scalable cloud computing infrastructure.
The most popular and mature open source programs are OpenDroneMap and WebODM.
On the commercial side, two of the most widely used options are DroneDeploy and Pix4D. DroneDeploy is an end-to-end cloud platform that covers the entire pipeline from flight planning and autonomous mission execution through to image processing, analysis, and reporting. Pix4D's core strength is photogrammetric processing (via Pix4Dmapper and Pix4Dmatic), though it also offers a flight planning app (Pix4Dcapture). Several drone manufacturers also offer processing software bundled with their drones, which can result in a significantly lower final cost than if hardware and software are bought separately.
When choosing processing software, consider the following factors:
| Factor | Open Source (ODM/WebODM) | Commercial Cloud | Commercial Desktop |
|---|---|---|---|
| Cost | Free | Monthly subscription | One-time or subscription |
| Internet needed | No (runs locally) | Yes (upload/download) | No |
| Hardware needed | Yes (your own machine) | No (cloud servers) | Yes (your own machine) |
| Customisation | Full control of parameters | Limited | Some |
| Support | Community forums | Vendor support | Vendor support |
Internet Connectivity
In environments with limited internet connectivity, cloud-based processing is often not suitable for drone mapping projects, which require uploading massive amounts of data (tens to hundreds of gigabytes) to the cloud before processing can start. In these cases, local desktop processing with OpenDroneMap or WebODM is the practical choice.
Hardware Considerations
The average amount of data processed in drone mapping is large, often larger than in traditional GIS projects. This type of processing is normally done on workstations set up with multicore CPUs, at least 16 GB of RAM, and fast solid-state drives (SSDs). Some key processing steps employ computer vision (CV) algorithms that benefit from graphics processing units (GPUs).
A valid alternative for small to medium-size projects (100-5,000 frames) is offered by gaming laptops, which are often already equipped with configurations similar to those needed for drone image processing (advanced CPU, SSDs, sizable RAM, a dedicated video card). If processing is to be conducted in the field, it is advisable to use ruggedised equipment and to have several charged battery packs as backup options.
What the Software Does
Whether on a desktop, on a laptop, or in a cloud computing environment, the processing workflow to obtain orthomosaics from drone-collected imagery is very similar. The main steps involved, mostly performed automatically by the software, are:
- Import image files (and optionally create overviews).
- Import GPS log and match with images (not necessary if GPS information is already available through image EXIF metadata).
- Select processing parameters and algorithm types (if choices are available).
- Extract features/points from each frame.
- Create camera model.
- Carry out feature matching and automatic triangulation.
- Carry out bundle block adjustment and AT model refinement.
- Import GCPs and carry out manual matching to corresponding image features.
- Conduct colour balancing.
- Generate dense point cloud and digital surface model (DSM).
- Extract digital terrain model (DTM) from DSM (with optional manual editing).
- Carry out seamline generation and make manual adjustments.
- Carry out orthomosaic generation (with optional overviews generation).
- Issue output of final products in GIS-compatible formats (e.g. GeoTIFF).
Processing 200 image frames locally on a gaming laptop to produce an orthomosaic typically requires one to two hours to complete.
Sharing Data and Imagery
All geospatial data produced by drone data processing software should be outputted into formats that can be readily consumed in common GIS programs such as QGIS. The most common format for output is GeoTIFF. In order to facilitate handling and opening of large files, the full mosaic may be split into same-size tiles, labelled in a grid sequence, and indexed by a shapefile or other schema file (e.g. VRT). Other options for portability and sharing include lossless (e.g. LZW) and lossy (e.g. JPEG 2000) compression algorithms that can drastically reduce the final file size.
Data created using drones can be shared in various ways. For instance, DTMs, DSMs, and point clouds can be shared on opentopography.org as open data. Orthomosaics can be shared by uploading onto the OpenAerialMap platform.
Adapted from: World Bank and Humanitarian OpenStreetMap Team (2019). Technical Guidelines for Small Island Mapping with UAVs. CC BY 4.0.
Processing External Imagery
Requirements
- QGIS, with plugin ImportPhotos installed.
- A directory of imagery you wish to process, captured by a drone.
Method
1. Prep the photos via ImportPhotos
- Click the ImportPhotos plugin icon.
- This will open a dialog where you specify:
- Input folder location: where your photos are located (can include subfolders).
- Output file location: this will simply output a
.gpkgfile with details of the photos you import.
- Click 'OK' to import the photos and view in QGIS.
Note
Ensure that your dataset is all of a single area, with overlapping photos.
While doing this, I had a folder of photos from two different flights. The GIF below demonstrates how to separate the files easily using QGIS and ImportPhotos.
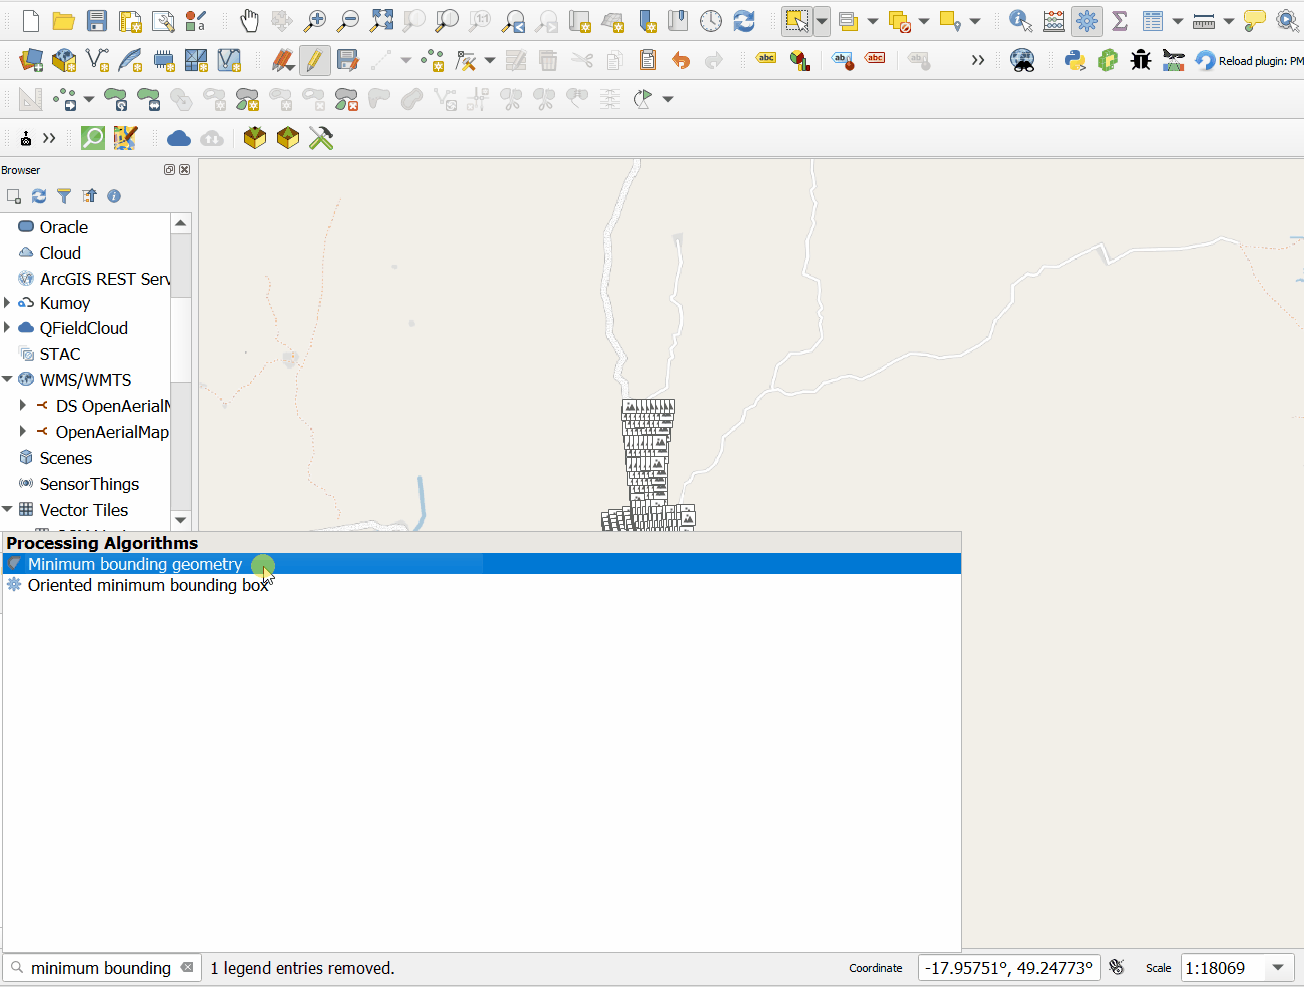
2. Create a geojson file around the photo locations
Here we create a bounding geometry, buffer slightly by
0.0005 degrees, and save as a geojson for our DroneTM
AOI:
3. Create a DroneTM project & upload imagery
- Create a DroneTM project as normal, using the newly created
.geojsonfile as the project AOI. - Set the task size to the maximum (1000m), but this doesn't really matter for now.
- Once created, on the the project details page, upload all of the images via the uploader.
- Classify the images into tasks & mark the tasks as 'fully flown' in the UI.
4. Process the imagery
- Open the processing dialog.
- You can skip past creating the fast orthos for each task, instead creating the final imagery products instead.